New Raspberry Pi! Setup Attempt No. 1
Tutorial
August 13, 2019
NOTE: This is a dead end article! I went down one path and then realized I needed to backtrack and go down a different one. Click here for the version that goes all the way through to completion.
I got a new Raspberry Pi! I’m using it for a new project to create time lapse videos. Here’s my step-by-step for getting it to work.
I decided to name my Raspberry Pi. Its name is Pi.
Project Description
Ultimate goal: Pi will take photos at a regular interval, send the images to an AWS S3 bucket, and periodically assemble the images into time-lapse videos. Separately, Pi will run a web server which hosts an API for delivering the images to a static website.
Get The Gear
I bought the following from from The Pi Hut:
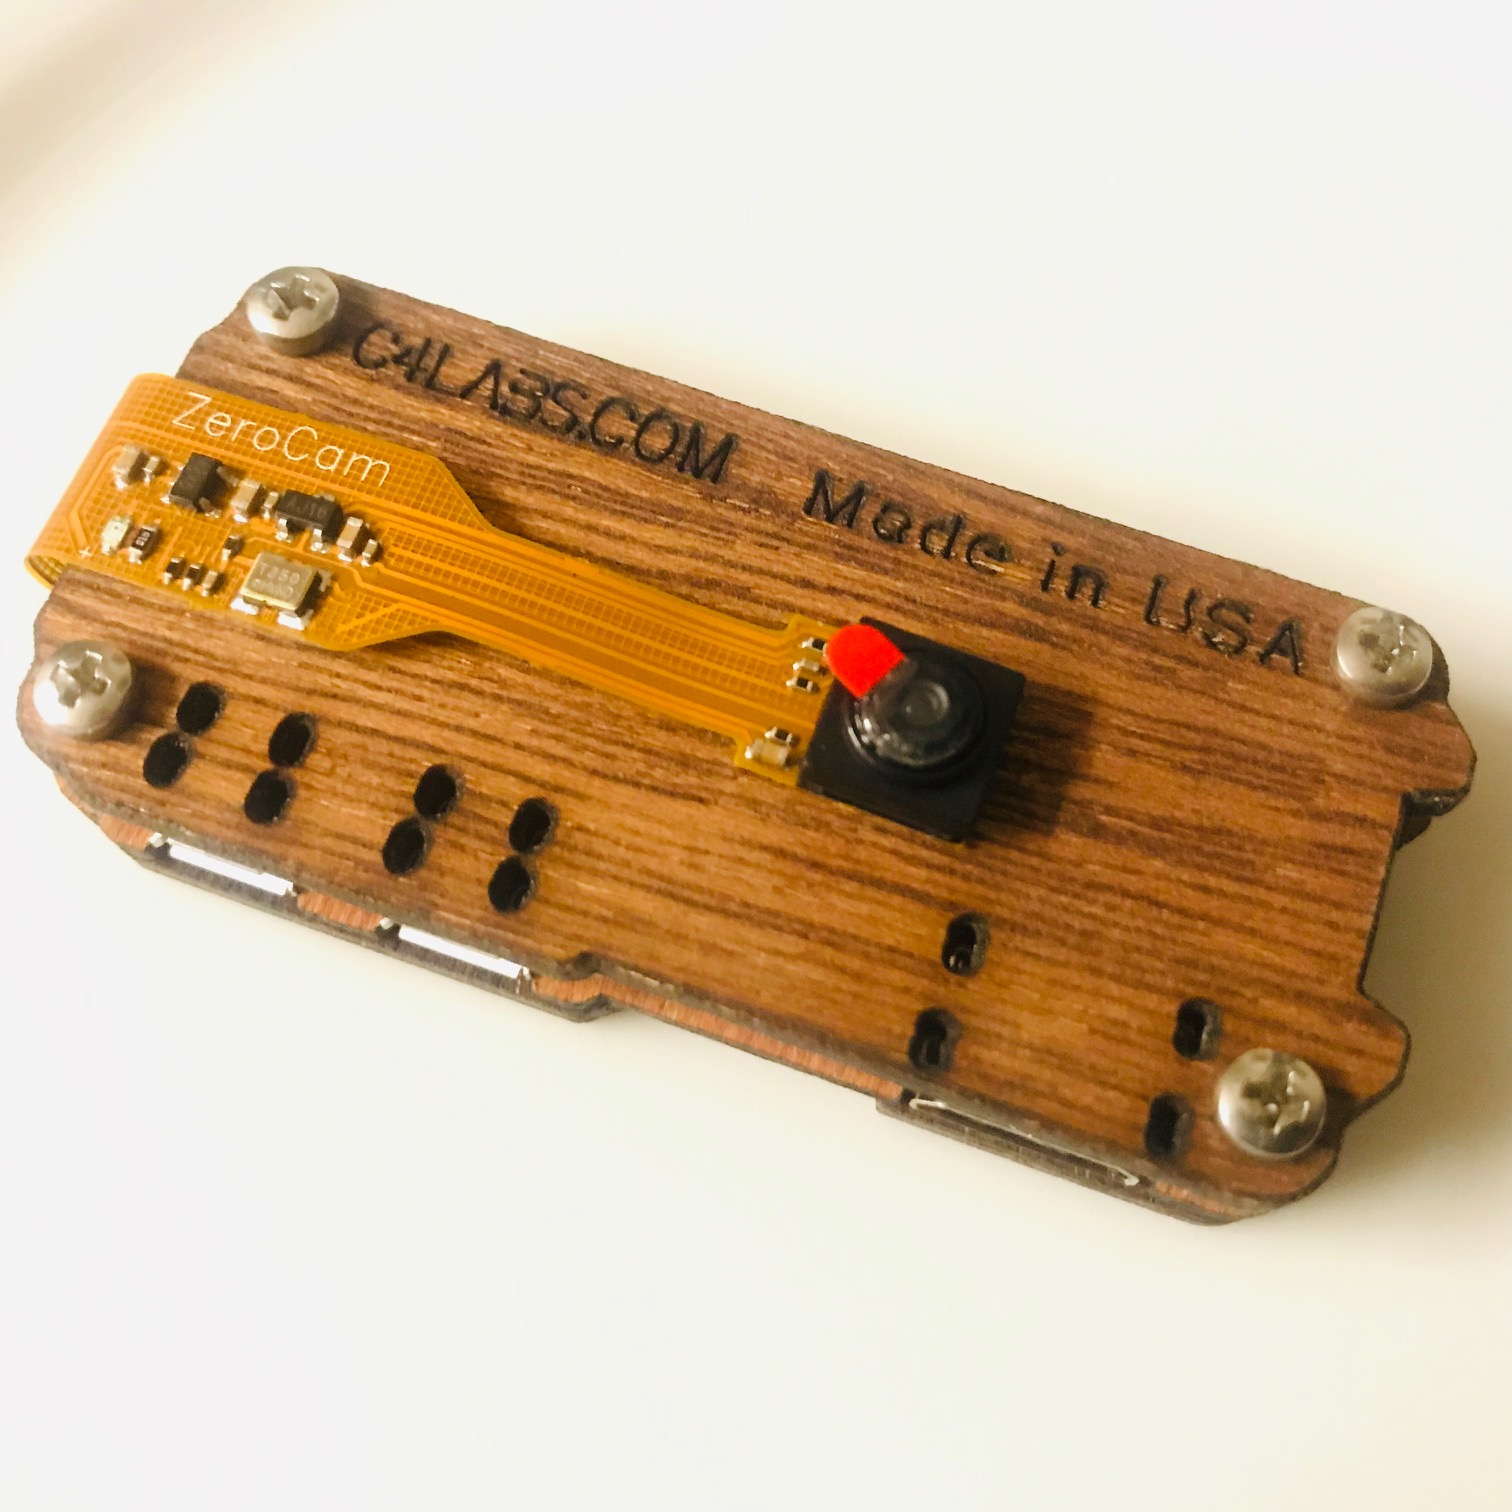
- Raspberry Pi Zero W (bare board)
- ZeroCam - Camera for Raspberry Pi Zero
- Mini HDMI to HDMI Cable 1m V1.4 (Zero)
- A super-cool case
Why a case? Pi will be in the window, so I went for some extra heat/sun protection. Not sure this is entirely necessary but it’s also pretty 😋
There are other Raspberry Pi vendors out there, including Amazon (affiliate link), and vendors based in other countries if you’re not in the UK. Shop around for prices.
I wanted a bigger SD card to store a lot of images so I bought one on Amazon as the pricing was better:
- SanDisk 64GB Ultra microSDXC UHS-I Memory Card with Adapter (affiliate link)
I already had the following (these are affiliate links):
Lesson learned: for the initial setup you either need a wired keyboard & mouse, or you need to forgo these peripherals all together and use a different installation method. That’s what I ended up doing in the updated version of this post
Assembly
Before plugging in the power or software, I assembled the camera & case.
Camera goes first while there’s still easy access to the camera port. This YouTube video demonstrates inserting the camera cable.
Then follow the case instructions and use a mini screwdriver to lock Pi into the case. Once done, the camera kind of flops around a bit. It does have an adhesive backing, but I’m pretty non-committal and want this to still be sticky later if I use the camera with a different Pi. So I opted to use Blu Tack to adhere the camera to the case.
Finished product:
Install NOOBS Operating System
Pi needs an operating system…it’s a computer after all. There are a number of options, but the most popular is Raspbian. The most popular for newbies is NOOBS (New Out Of Box Software), which includes Raspbian via a friendly GUI which also lets you easily install a new OS if you manage to break the first one. I think I’ll go with that one.
You can buy an SD card which is Pi-compatible and pre-loaded with an OS. I opted to buy a blank (and bigger) SD card which means I have to format it to work with Pi first.
The docs explain why I need to format it: any card larger than 64GB will be formatted with the exFAT filesystem by default…but Pi isn’t compatible with this, it requires FAT16 or FAT32.
Steps for formatting a micro SD card on my MacBook Pro:
- Put the micro SD card in its adapter, then in my laptop
- Open the Disk Utility application
- SUPER IMPORTANT! Click on the micro SD card from the list of drives
- Click ‘Erase’
- Select MS-DOS (FAT) for format and give it a new name if you want
- Click ‘Erase’
- Close Disk Utility but don’t eject the drive yet
Note: You can also format the disk from the command line, or on Windows or Linux
Steps for getting the OS on Pi:
- Download the latest full version (not Lite) of NOOBS from the Raspberry Pi Downloads page
- Unzip the file
- Copy the contents of the extracted .zip onto the SD card drive (not the folder containing the extracted files)
- Eject the SD card from the Mac, remove it from the adapter, and put it into Pi
- Connect Pi to a power source
DOH! While Pi can connect to a bluetooth keyboard and mouse, you do need a wired USB device for the initial NOOBS setup. I didn’t want to wait to buy one and have it delivered, so I opted for a different installation method and wrote about it here.