New Raspberry Pi! Step-By-Step, From Zero To Time-Lapse Videos
Tutorial
August 14, 2019⭐️ FEATURED
I got a new Raspberry Pi! It’s a Zero W model and I’m using it for a new project to create time lapse videos. Here’s my step-by-step for getting it to work.
I decided to name my Raspberry Pi. Its name is Pi (and will be referred to as such in this post 😄).
Table of Contents
- Project Description
- Get The Gear
- Assembly
- Install Raspbian Operating System
- Set Up Remote Desktop
- Test the Camera
- Make A Plan For The Time Lapse
- Test A Time Lapse
- Automate Everything
- Things That Didn’t Work
- Final Notes
- Useful References Along The Way
Current Status: This tutorial is a work-in-progress. Currently, I’ve gotten as far as creating the videos 100% programmatically. Still to come: storing the images remotely and creating the API. Watch this space! (last updated 7 September 2019)
Project Description
Ultimate goal: Pi will take photos at a regular interval and periodically assemble the images into time-lapse videos. Separately, Pi will send the images to an AWS S3 bucket for storage, and run a web server which hosts an API for delivering the images to a static website.
Note: all of these steps are based on MacOS with a pre-existing dev setup (i.e. Homebrew, etc.)
Get The Gear
I bought the following from from The Pi Hut:
- Raspberry Pi Zero W (bare board)
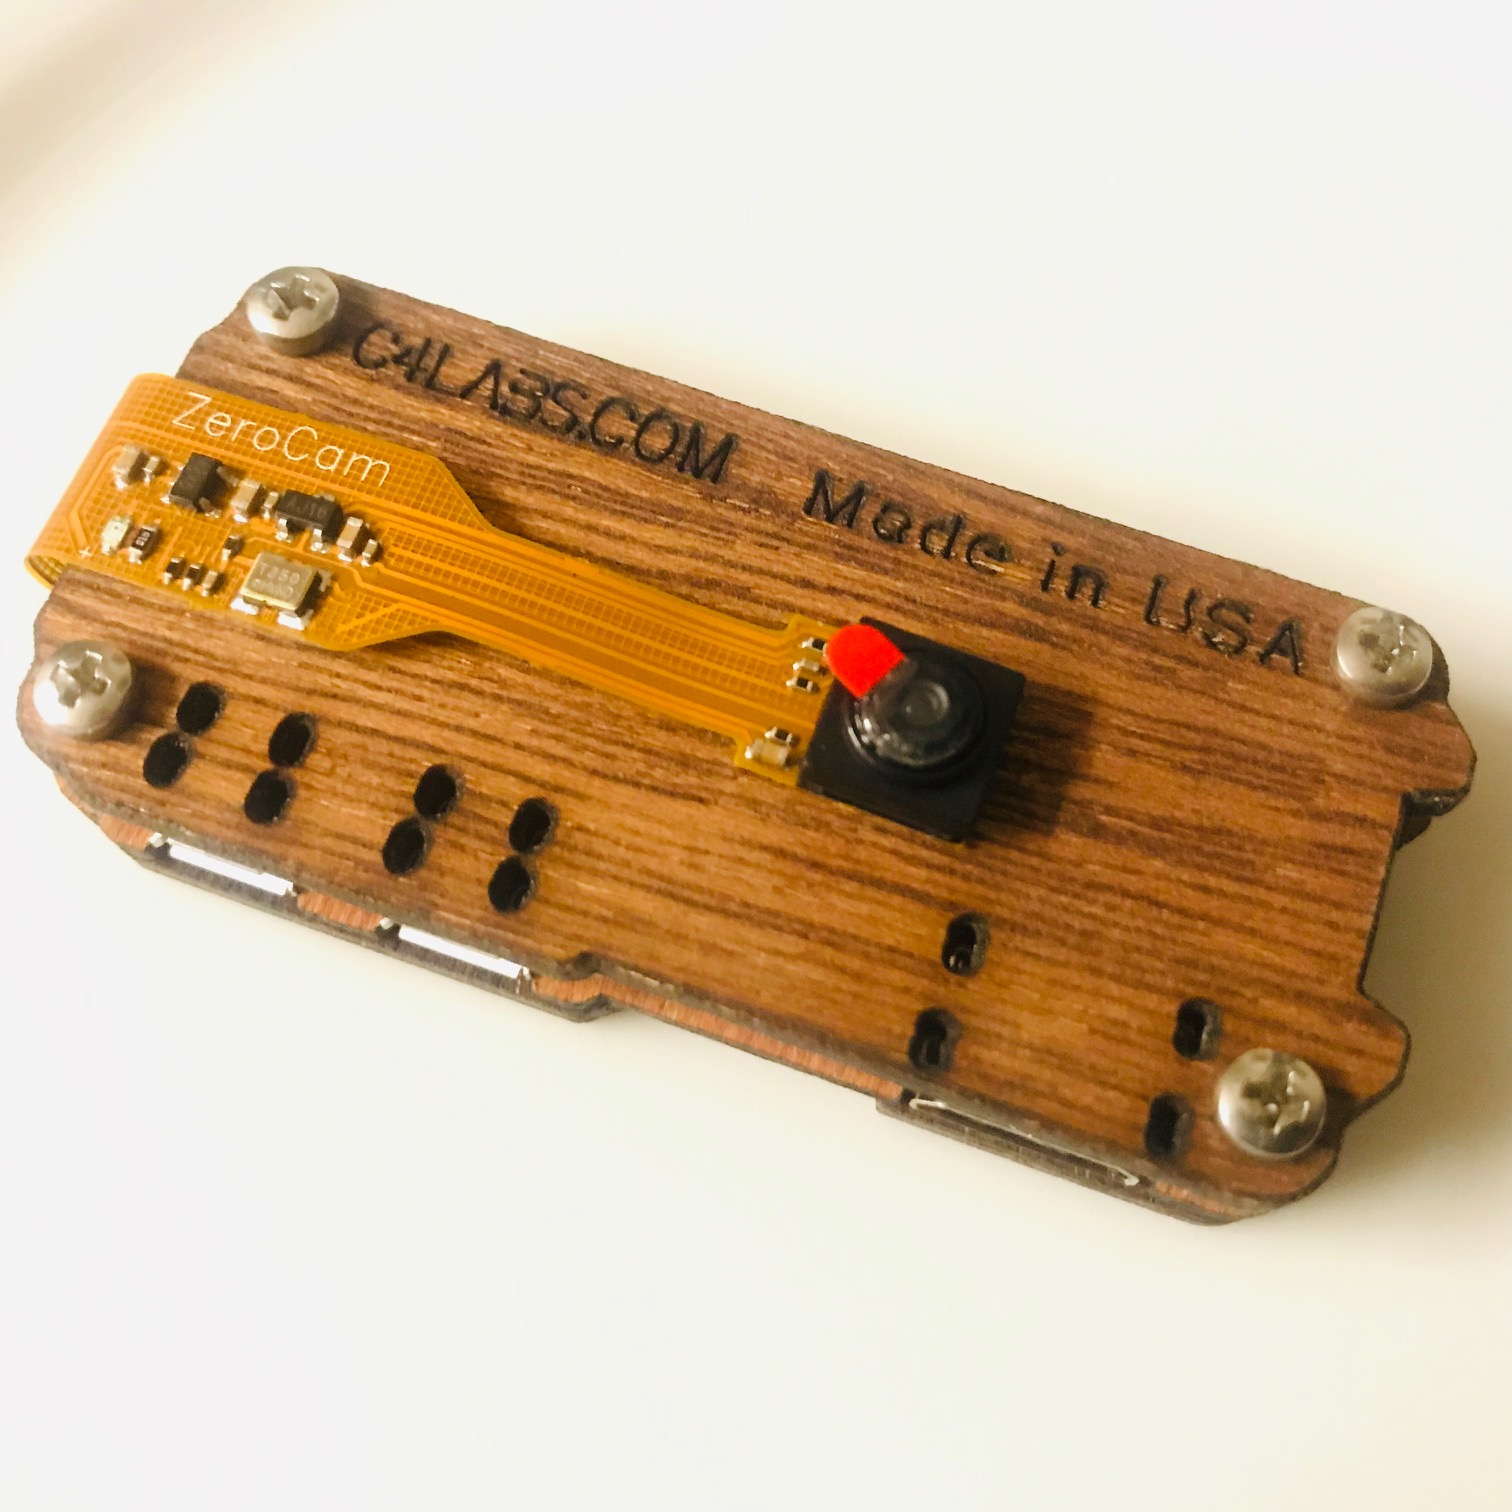
- ZeroCam - Camera for Raspberry Pi Zero
- Mini HDMI to HDMI Cable 1m V1.4 (Zero)
- A super-cool case
Why a case? Pi will be in the window, so I went for some extra heat/sun protection. Not sure this is entirely necessary but it’s also pretty 😋
There are other Raspberry Pi vendors out there, including Amazon (affiliate link), and vendors based in other countries if you’re not in the UK. Shop around for prices.
I wanted a bigger SD card to store a lot of images so I bought one on Amazon as the pricing was better:
- SanDisk 64GB Ultra microSDXC UHS-I Memory Card with Adapter (affiliate link)
I already had the following (these are affiliate links):
Assembly
Before plugging in the power or software, assemble the camera & case.
Camera goes first while there’s still easy access to the camera port. This YouTube video demonstrates inserting the camera cable.
Then follow the case instructions and use a mini screwdriver to lock Pi into the case. Once done, the camera kind of flops around a bit. It does have an adhesive backing, but I’m pretty non-committal and want this to still be sticky later if I use the camera with a different Pi. So I opted to use Blu Tack to adhere the camera to the case.
Finished product:
Install Raspbian Operating System
Pi needs an operating system…it’s a computer after all. There are a number of options, but the most popular is Raspbian. The most popular for newbies is NOOBS (New Out Of Box Software), which includes Raspbian via a friendly GUI which also lets you easily install a new OS if you manage to break the first one.
Initially I wanted to install NOOBS, but you need a keyboard & mouse for this—wired ones, so you’d need a mini USB adapter or devices that are wired with mini USB cables. Call me impatient! I chose to install Raspbian instead to avoid waiting…Raspbian can be installed and configured without these.
You can also buy an SD card which is Pi-compatible and pre-loaded with an OS. I opted to buy a blank (and bigger) SD card which means I have to format it to work with Pi first.
The docs explain why you’d need to format it: any card larger than 64GB will be formatted with the exFAT filesystem by default…but Pi isn’t compatible with this, it requires FAT16 or FAT32.
Steps for formatting a micro SD card on a MacBook Pro:
- Put the micro SD card in its adapter, then in your laptop
- Open the Disk Utility application
- SUPER IMPORTANT! Click on the micro SD card from the list of drives
- Click ‘Erase’
- Select MS-DOS (FAT) for format and give it a new name if you want
- Click ‘Erase’
- Close Disk Utility but don’t eject the drive yet
Note: You can also format the disk from the command line, or on Windows or Linux
Steps for getting the OS on Pi:
- As a precaution, remove all external hard drives or USBs from your laptop (this is self preservation…see #4)
- Download the latest full version (not Lite) of Raspbian .zip from the Raspberry Pi Downloads page
- Unzip the file…inside you’ll find an image of the Raspbian operating system
- Download Etcher which you’ll use to add the OS image to the formatted micro SD card
- Open Etcher and follow its simple point & click process, making sure to add the image to the correct drive—don’t overwrite a different drive on your laptop by mistake!! I came way too close to overwriting my whole music library 😅
- When Etcher has finished, you’ll find the micro SD is now a volume called
BOOT…this is the operating system, and it will be installed when you plug the SD card into Pi.
But not so fast! By default, the Raspbian OS won’t be configured to allow an SSH connection, and it won’t be connected to your wifi network (obviously). These can both be set up on your laptop before ejecting the SD card.
Enable SSH on Raspbian image:
SSH (Secure Shell) is a way to control a computer remotely, from another computer. This is how you can control Pi from your normal laptop or desktop, and forgo the need to buy a wired mouse & keyboard.
To enable this for Pi, create a file ssh in the root folder of BOOT using the command line:
cd /Volumes/boot |
Configure Raspbian with your wifi network:
Create a file called wpa_supplicant.conf in the root of BOOT. Add the code below, replacing the <VARIABLES> in brackets with your own details. There’s more than 1 way to do this, but I used the nano command line text editor:
$ touch wpa_supplicant.conf |
When the editor opens, paste the code & add your wifi info:
ctrl_interface=DIR=/var/run/wpa_supplicant GROUP=netdev |
- Press
ctrl + Oto write the text to the file - Press
Enterto save the file. You will see a message[Wrote 9 lines]as confirmation - Press
ctrl + Xto exit nano
For reference: 2-letter ISO country codes
Plug in Pi:
- Eject the SD card and put it in Pi
- Connect Pi to monitor with HDMI cable, then plug Pi into its power source
It will take some time for Pi to boot up on this first install. Having a monitor helps with impatience, because you can see when it’s finished and ready for the next steps.
Connect to Pi via SSH
First try running the following on the command line; if you get one IP address as a result, skip to #4 below.
$ ping raspberrypi # you can also try raspberrypi.local |
- Download nmap, a tool that lets you scan your local network. Homebrew makes this easy:
brew install nmap - Get your IP address. My way: click the menu bar wifi symbol and Open Network Preferences… In the Wifi tab, under status, your IP address will be there. Use this in place of the IP address in the next step.
- In the command line run
nmap -sn 192.168.0.2/24to get a list of all IPs in range. Look for the one that mentions Pi:
... |
- Use Pi’s IP address to connect to Pi via SSH using the default username pi:
$ ssh pi@192.168.0.97 |
You will be prompted for a password; the default is raspberry. Now you’re connected! You can update some settings using the config menu (for example, it’s recommended to change the password from the default):
pi@raspbberrypi:~ $ sudo raspi-config |
Set Up Remote Desktop
Final hurdle to easily control Pi: set up a remote desktop server. This allows you to use Raspbian’s GUI instead of just the command line. Click here for the full article I used to get the steps below:
- In the Raspbian terminal run
sudo apt-get update - Then run
sudo apt-get install tightvncserver(this will uninstall the default VNC server) Ignore the tutorial’s instructions tohaltorrebootpi. It seems unnecessary, and also had negative consequences for me (i.e. I had to re-image the SD card and re-add ssh & wifi settings 🙄). - Then start the server:
vncserver :1 -geometry 1920x1080 -depth 24 - The first time only, you will be asked to set a password. It can have maximum 8 characters. Type
nwhen asked if you want to enter a view-only password. **Remember the password!**—you’ll need it in future every time you want to reconnect. - Open a new Finder on your Mac window and hit
Cmd + Kto connect to a server - Type in Pi’s remote desktop server address:
vnc://192.168.0.97:5901(just append5901to your Pi’s IP address). GUI should open. - Don’t do this yet, but when you’re ready the command to stop the VNC server is
vncserver -kill :1
NOTE: I found the 1920x1080 screen resolution to be a bit too high…using Pi’s desktop remotely was slow and janky. Later I switched the resolution to 1280x720, which ran a lot better.
Test the Camera
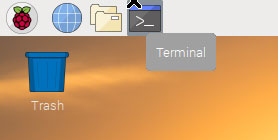
Open Pi’s command line: either continue to use the shell that’s open via SSH, or open Raspbian’s terminal from the top left corder of the desktop:
Save an image to your Raspbian desktop:
raspistill -o Desktop/image.jpg |
After a few seconds, you should see the file appear on the desktop. Open it and take a look! You’ll see the best way to orient the camera for a landscape or portrait photo. If necessary you can vertically or horizontally flip the image by appending this command with -vf and/or -hf respectively.
For a full list of raspistill commands, visit the docs. Here are some common adjustments to play with:
Image parameter commands |
Don’t forget to change the file name each time you take a test picture. Otherwise, the pre-existing image will be overwritten.
Make A Plan For The Time Lapse
To see what’s going on when the image is taken, I used the -v tag, which gave the following output:
Camera Name ov5647 |
I used this as a basis to play around with image size and quality to start. For example, the default .jpg quality is 85, but several sources agree 60-70 is usually suitable for web use. Also the default image size for Pi is 2592 x 1944 and around 2.7 MB in my tests. You can play around with smaller dimensions for a smaller image size (250 kb in this case):
raspistill -o Desktop/image-small.jpg -w 640 -h 480 |
The Math For My Project
A few sources had different recommendations for the number and quality of photos to use when planning a time lapse:
- 5-15-min Interval for Long Projects
- 1500px Width Minimum at 60-70 Quality For Large Screens
- 2784x1856 Dimensions For Timelapse
- 2400x1600 Dimensions For Web Images
And there were a few ratios to consider to size-down from the default 2592 x 1944:
| Width | Height | |
| 1920 | x | 1440 |
| 1500 | x | 1000 |
| 1200 | x | 900 |
| 1000 | x | 750 |
| 800 | x | 600 |
In the end I calculated:
- First time lapse will cover approx. 10 days
- I want each day to be 4 seconds → 40-second video
- I will output at 25 frames per second → 100 images per day
- Images will be taken from 7:45 am - 6:00 pm → 615 minutes
- So image needs to be taken every 6.15 seconds → 6150 milliseconds
- Image quality will remain the default
85(lower file size than70) - Dimensions will be 1920 x 1440 for 1080 HD quality
- With these settings each image is about 2 MB → 1000 images is 2 GB
- Can run this for ~220 days before beginning to worry about space on Micro SD card
Test A Time Lapse
To start I took a photo every second for 30 seconds:
raspistill -o /home/pi/Desktop/test\ images/timelapse-test-2/`date +%Y-%m-%d-%H.%M.%S`_1920x1440_q85_awb-horizon_%04d.jpg -v -n -t 30000 -tl 1000 -w 1920 -h 1440 -awb horizon |
This results in timestamped file names with resolution and descriptive information about the photo settings. The files are all in one folder. An important part of the filename to point out is the %04d tag, which adds a 4-digit sequenced number. If you don’t include this, each photo will just overwrite the previous interval photo. You can adjust the number of digits based on how long the timelapse will be running, i.e. %08d for an 8-digit sequence, etc.
Make The First Video
To make a video from the images, I used mencoder, which needs to be installed:
$ sudo apt-get install mencoder |
After the installation, you can create your first timelapse. mencoder requires the photos to be listed in one file, then you can encode a video:
$ cd /home/pi/Desktop/test\ images/timelapse-test-2/ |
You’ll see mencoder create the video frame by frame, so if you have a lot of source images it may take a while. In one of my initial tests, it took 2.5 minutes to create a 4-second video from 100 photos. When it finishes, you should see the timelapse.avi file in the current directory.
Some notes about mencoder:
aviis not my first choice video format, butmencoderis optimized to this format. I decided not to mess with that. See more info in the docs if you’re curious (section 6.1).- As it’s creating the video, you will see some warnings about format, height, and width not being set. This is a known issue which does not appear to be problematic.
Preview The Test Video
Since we’re using Pi via SSH, the quickest/easiest way to view video will be to transfer it to your local machine. I wrote in a bit more detail about how to do this but the short version:
- Open a new Terminal tab, or exit the existing SSH session
cdto the place where you’d like to copy the video file to- run
scp -rp pi@192.168.0.97:/home/pi/Desktop/test\ images/timelapse-test-2/timelapse.avi ., updating with your own IP address and file locations - When prompted enter Pi’s password
- As soon as it finishes you can open the video file and play it!
VLC can play .avi files if your default media player can’t.
Automate Everything
Now we’re getting to the fun part! You know everything’s working as it should, so it’s time to set everything up so you can set it and forget it.
Separate Pi From Your Machine
Currently, Pi will only run scripts if you have an open ssh session. If you want to capture an all-day timelapse, your computer will need to be on all day, and connected to the wifi network Pi is on. This pretty much makes a laptop non-portable, so something needs to be done differently! Enter Screen.
I wrote about this separately, but basically you can use screen to open an ssh session which will remain open without needing your laptop. Here’s the summary for setting it up:
- Connect to Pi via SSH
sudo apt-get install screen- >>> it installs. reboot if necessary <<<
screenspaceorreturn- >>> you’re in a
screensession. start your timelapse scripts <<< ctrl + a(release, then)d→ detaches you from the session- >>> go about your business. shut down computer, turn off wifi, etc. <<<
Create A Script To Capture The Images & Create A Daily Time Lapse
From the Pi command line, open a new file using the nano editor to write your script:
pi@raspbberrypi:~ $ nano one-week-day-every-6-min.sh |
I wanted my timelapse to capture about 10 hours per weekday, i.e. the time frame activity will be going on in the photos. So my script would create a dated directory to store that day’s photos, run the timelapse with raspistill, create the .txt. file for mencoder, and then run mencoder at the end of the day to create the day’s timelapse:
|
Notice all of the videos are being stored in a central videos folder, not with each day’s photos. You’ll need to create this videos/ directory before running this script, otherwise the mencoder command will fail.
I saved this file in a new scripts directory on my desktop: /home/pi/Desktop/scripts/one-week-day-every-6-min.sh. Reminder of the steps to save file & exit nano:
- Press
ctrl + Oto write the text to the file - Press
Enterto save the file. - Press
ctrl + Xto exit nano
Lastly, modify the file so that I can be run as an executable:
pi@raspbberrypi:~ $ chmod +x /home/pi/Desktop/scripts/one-week-day-every-6-min.sh |
Create A Cron Job To Execute The Script Daily
Crontab is a Linux utility which lets you schedule jobs to be run at certain times. I set it up to run my timelapse script each day.
Note: make sure you’re in a
screensession when setting this up.
- From Pi command line, open crontab:
crontab -e - For me, being the first time using crontab on this machine, there were some instructions commented out in the file (you may or may not see this). I added my cron job below the comments:
# collect photo for 10-hr work day |
This means that on days 1 - 5 (Monday through Friday) at 45 minutes past the 7th hour (7.45 am), crontab will run my script. Remember that the script itself sets the interval for taking photos, so cron only has one simple job to do.
Well, I added a second script for Saturdays where it’s not a full 10-hour capture, so I gave mine two jobs:
# collect photo for 5-hr work day |
Assemble The Timelapse Videos Into One
Voila! You now have your photos being taken automatically, and a daily timelapse video being created & deposited into a single folder. All that’s left to do now is assemble the videos into a longer timelapse.
Since all of the videos have the same encoding, this is a very simple process with mencoder:
mencoder -nosound -ovc copy -o output.avi timelapse-2019-08-18.avi timelapse-2019-08-19.avi |
This will take the two dated videos and concatenate them into one output file, ouput.avi. You can also string more than two videos together with the same command:
mencoder -nosound -ovc copy -o all.avi timelapse-2019-08-18.avi timelapse-2019-08-19.avi timelapse-2019-08-20.avi timelapse-2019-08-21.avi timelapse-2019-08-22.avi timelapse-2019-08-23.avi timelapse-2019-08-24.avi timelapse-2019-08-26.avi timelapse-2019-08-27.avi timelapse-2019-08-28.avi timelapse-2019-08-29.avi timelapse-2019-08-30.avi timelapse-2019-08-31.avi timelapse-2019-09-02.avi timelapse-2019-09-03.avi timelapse-2019-09-04.avi timelapse-2019-09-05.avi timelapse-2019-09-06.avi timelapse-2019-09-07.avi |
Job done! Copy the file to your non-Pi computer (reminder of how, above) and check out your assembled timelapse.
Next Steps For Automation
I plan to add a cron job to concatenate all of the videos periodically, but I haven’t yet decided what interval to do that in. When I do that I’ll add it here!
Things That Didn’t Work
This step-by-step looks nice, easy, and tidy right? Well of course it wasn’t so simple 😆 It’s worth mentioning a number of things I tried that didn’t work. I dove into each with varying levels of depth so your mileage may vary.
NOOBS
I alluded to this above, but it’s worth mentioning again. All of the beginner Raspberry Pi tutorials recommend using NOOBS to get started, and I’d probably agree—the rigamarole above to create an image of the Operating System and set ssh and wifi settings and remote desktops is probably overkill for a beginner!! I had to erase/replace the OS twice during this process, and I’m not certain but I think I ran into some other unexplored buggy things in the initial setup because I couldn’t see Rasbian’s real first-login GUI.
All of this could have been avoided if I had the patience or foresight to get the wired keyboard & mouse (or adapters) when I first ordered all of the kit. A smarter person would learn from my mistakes and do this instead of what I did 😝
Photoshop Assembly
Ok this actually did work, but I really wanted to make the timelapses programmatically, so I scrapped this option.
But did you know Photoshop also has video capabilities!? Even my super-old version of the software 😂. This tutorial gives an excellent walk-through on how to do this…especially useful if you want to alter the images manually or in bulk before assembling, like adding dates:
First timelapse done! #RaspberryPi pic.twitter.com/Kstje07gIo
— Nia Murrell (@NiaMurrell) August 20, 2019
avconv
The official Raspberry Pi timelapse documentation instructs you to install libav-tools to use the avconv software, which is meant to stitch the jpg images into a video timelapse. This software is no longer supported on the latest version of Raspbian and errored out before finishing the installation:
Package libav-tools is not available, but is referred to by another package. |
If you want to jump down a rabbit hole, you can read all about the somewhat fractious history of avconv. The gist of it: two warring factions felt differently about this encoding software and now ffmpeg is the go-to, modern choice (apparently….I’m probably exaggerating 😂). I got started installing ffmpeg, and then realized it was already installed by default with Raspbian. And it seems for most of the commands, you can use avconv and ffmpeg interchangeably. Great!
But not so fast…
ffmpeg
ffmpeg uses a software h264 encoder, unlike other options out there which use hardware acceleration instead. Based on the numerous tutorials that suggest using ffmpeg, I think it is fine if you have a Raspberry Pi 3 or 4, which has more processing power.
The Raspberry Pi Zero W does not have enough CPU capacity to use ffmpeg to encode video from jpg files using the often-recommended encoder, libx264. It’s possible this can be done using the h264_omx encoder instead. I went down a different path, but here are some resources that may be useful if you want to try it:
- Reddit post Hardware Accelerated x264 Encoding with FFMpeg - not specific to Pi Zero
- Old forum post detailing another
omxencoder…from 2014 though, Pi hardware seems to have improved since this post - YouTube video with
ffmpegtutorial, though he transferred the jpg files to a Mac first and didn’t run it on the Pi (it’s actually not a Pi-related tutorial at all) - Further discussion and some suggestions on using the
omxencoder - Another YouTube video with useful introductory
ffmpeginfo - This is a brain dump but maybe there’s something useful in there…again, seems RPi 3/4 focused
More ‘Done For You’ Tools
Some lovely people have taken a lot of this work and published simpler methods of this whole process (or parts of it). Here are some I came across:
- Raspberry PI-TIMOLO ( PI-TImelapse, MOtion, LOwLight )
- Time Lapse Assembler as suggested in this YouTube video
Final Notes
This walk-through is one approach to making timelapses with a Raspberry Pi Zero W, born from a lot of trial & error. And there are definitely other ways to accomplish the same thing if you’re so inclined! Here are some other things to consider or play around with for your own project:
Interval of Photos
My original intention was to create monthly videos so I set my interval pretty wide at 6 minutes in order to capture roughly 4 seconds of timelapse video per day. But a month is a long time to wait for a fun project like this 😊 And six minutes is a bit choppy if you want to stretch it out to longer than 4 seconds. I experimented with 3-minute intervals for one day, and the timelapse looked a lot better. And if you have the disk space, there’s no harm in planning for more than 25 frames per second.
All this to say, carefully consider & experiment with the number of photos you capture—you really can get significantly different results depending on this choice.
Frame Rate For Video
This may seem like a duplication of the previous point, but I think it’s work mentioning frame rate separately. You can have a lot of fun with this! Some tutorials I came across suggested as low as 10 frames per second to create really cool-looking stop-motion videos. Or you could go the other end and cram each second with dozens of frames, and end up with super high resolution or even slow motion videos. There’s a lot of room to be creative here.
Useful References Along The Way
- Raspberry Pi official ‘Getting Started’ Tutorial
- Instructions to install OS via SSH
- Sentdex ‘Getting Started’ YouTube Tutorials
- Remote desktop reference using Tight VNC Server
- Remote desktop reference using default VNC server (requires GUI access)
- Background info on VNC servers in Ubuntu
RaspistillBasic Usage With Shell Scripts- How To Keep Script Running While Disconnected from SSH (or 2nd option)
avconvInstructions For Stitching Video From images- Creating a timelapse clip with avconv
- Assembling A Timelapse Video In Photoshop
- Mentions downloading images to local machine from Pi
- ffmpeg Documentation
- mencoder Documentation
- The YouTube Video that showed how to stitch photos on Pi Zero with
mencoder